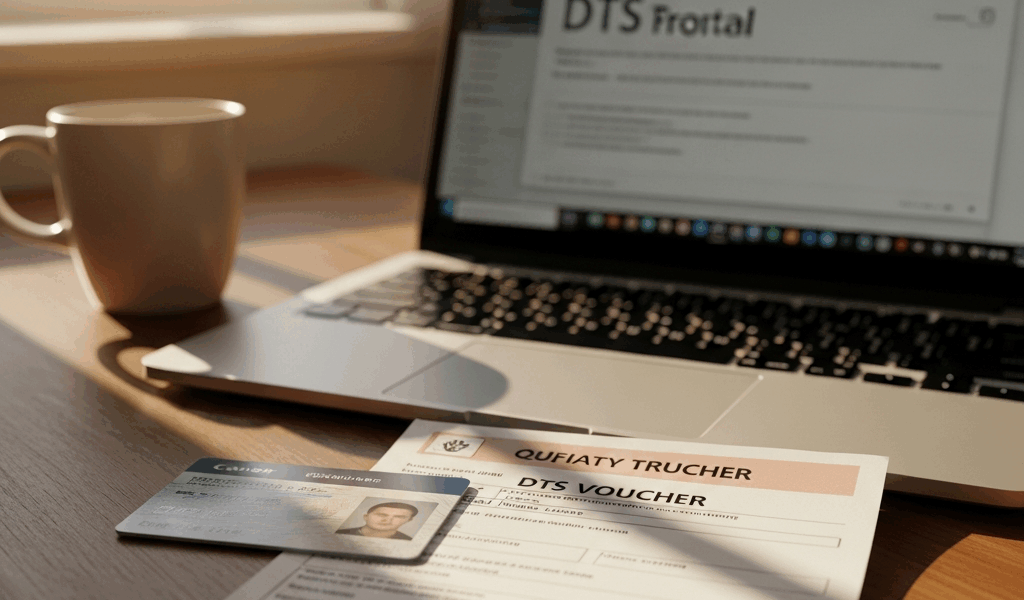
DTS Voucher Tips — How to Get Paid Faster After TDY
DTS has gotten complicated with all the misinformation and half-remembered advice flying around. As someone who filed over 200 DTS vouchers across eight years of active duty, I learned everything there is to know about moving through the system fast. Today, I will share it all with you.
The gap between getting paid in two weeks versus two months comes down to details. Specific, tedious, easy-to-overlook details. Most military travelers either don’t know them or are too wiped out post-TDY to care. That’s the whole problem.
Finance isn’t holding your money hostage. They’re working off the Joint Travel Regulations — a rulebook with zero flexibility built in — and every error you submit becomes a mandatory delay on their end. I’ve watched soldiers get reimbursed in 10 business days. I’ve also watched them chase a payment for 45 days over something completely preventable. The difference wasn’t luck. It was documentation.
So, without further ado, let’s dive in.
The 5 Mistakes That Delay Your DTS Voucher
Wrong dates kill more vouchers than anything else. You enter your TDY start date as the 14th when your orders clearly say the 13th. Finance catches it. Back it goes. Now you’re sitting another week waiting on resubmission. You checked your dates three times? Check them a fourth time anyway.
Missing receipts over $75 mean automatic rejection in most commands. Not a guideline — the rule. A hotel folio without a visible date. An Uber receipt that doesn’t list the exact destination. A rental car agreement with the driver information missing. These aren’t minor gaps. They’re showstoppers, full stop.
Incorrect per diem location seems minor until it isn’t. You stayed in Arlington, Virginia, but typed Alexandria into the system. Same metro area. Completely different locality rate. Arlington runs $193 for lodging and $64 for meals as of 2024. Alexandria is $173 and $63. Finance will catch the discrepancy, deny the portion that doesn’t match, and send it back. Now you’re resubmitting something that should have been right the first time.
Routing errors are constant. Someone in your chain approves the voucher, but it routes to the wrong Financial Approver next. It sits untouched in their queue for three weeks. You have no idea this is happening. Neither does anyone else, apparently. Check the routing before you hit submit — every single time.
Unsigned vouchers get kicked back immediately. Digital signature, hard copy with a wet signature, whatever your command requires — get it done before submission. Don’t make my mistake. My first TDY, I thought a typed name counted as authorization. Spent an extra two weeks waiting to find out it absolutely does not.
Submit Within 5 Days — Why It Matters
The JTR requires submission within five days of returning from TDY. That’s not a suggestion. Missing the window has real consequences — and not just in a vague, hypothetical way.
First, the disciplinary angle. Repeated late submissions can result in formal counseling or loss of per diem entitlement on future travel. Your chain can restrict your travel authority if you build a pattern. I’ve never personally seen someone lose significant standing over a single late voucher, but I’ve also never pushed past two weeks late. Probably shouldn’t test it.
Second, the timeline math. Submit on day five, you’re fine. Submit on day eight and you’ve already added a week — your AO might not even look at late submissions for several days after the deadline. Some commands run automated flags that slow processing for anything filed outside the window.
Third, and honestly underrated: your memory. Was that meal $14.50 or $15.50? Did you take that taxi on Tuesday or Wednesday? On day five, you know. On day ten, you’re guessing. On day fifteen, you’re reconstructing a timeline from hotel key cards and your bank app.
The five-day rule exists for a reason. Respect it.
Receipt Requirements — What to Photograph Before You Leave
Probably should have opened with this section, honestly. Frustrated by a 2018 TDY where I lost a hotel folio and spent two months chasing a duplicate through corporate channels — the hotel had closed for renovation by then — I built a specific receipt photography system during my third year of regular travel.
Here’s what you photograph, and when.
Lodging folio. Request this at checkout even if you paid with a government travel card. It shows daily rate, dates stayed, taxes, and incidentals. Photograph both sides — front has the rates, back usually shows room number and checkout time. If you lose the paper copy, that photo is your evidence.
Rental car agreement. Get the full agreement, not just the final receipt. The agreement shows pick-up location, drop-off location, vehicle model, damage waiver information, and total cost. Photograph it before you leave the lot. I was shooting with a Canon PowerShot SX530 HS during my 2019 to 2021 travel stretch — the zoom lens let me capture small print text from about three feet away — but any modern smartphone camera handles this fine.
Airfare confirmation. If you booked through Concur Travel or a similar government-approved vendor, the digital record exists. Screenshot that confirmation showing flight dates, airline, confirmation number, and cost. Some receipts only display partial information at first glance, so scroll down.
Any expense over $75. Meals, ground transportation, equipment rentals, registration fees — anything crossing the $75 threshold needs photographic documentation. Below it, some commands show flexibility depending on tolerance. Above it, you will not get that flexibility. The 75-dollar line is absolute.
The backup move: photograph everything at the point of purchase, not later. After the meal, shoot the receipt before you leave the table. After checkout, photograph the folio while you’re still at the front desk. Thirty seconds per receipt. Eliminates the entire category of “I can’t find that document” problems.
How to Handle Per Diem Discrepancies
But what is a per diem discrepancy, exactly? In essence, it’s a mismatch between the rate you claimed and the rate officially authorized for your location and dates. But it’s much more than that — it’s also one of the most common reasons Finance kicks a voucher back, and one of the most preventable.
Start with the per diem lookup tool on the Defense Travel Management Office website. Enter your TDY location and exact dates. The system returns the authorized daily rate for lodging and meals. Rates vary wildly — San Francisco runs $292 for lodging and $79 for meals. Rural Kansas might land at $126 and $49. Know your number before you file. Document it.
Government-provided meals change what you can claim. If your training facility served both lunch and dinner, you get no meal per diem for that day. Breakfast only? You get the full meal rate minus the breakfast deduction. Finance will cross-reference your meals-provided listing against the location’s standard rates. Claim what was actually served, nothing more.
Conference rate versus standard rate is a separate issue. Some TDY locations carry special conference rates — different from the standard locality rate — if you attended an official military conference. Check the DTMO site for both the general rate and any conference-specific rate tied to that location and date range. They’re not always the same number.
Screenshot the locality rate page showing your location, dates, and the official rate you’re claiming. Attach it to your submission package. Finance reviews this specifically. Showing your work prevents disputes before they start. That’s what makes this step endearing to us frequent travelers — it takes two minutes and saves two weeks.
Typical Payment Timeline and How to Track It
Three to five business days after AO approval is the standard window for payment to hit your account. Business days — not calendar days. Mid-month moves faster than the 1st through the 10th, when large voucher batches flood the system simultaneously.
Log into your DTS account and check the voucher status field. You’ll see one of these states: In Progress, Awaiting AO Approval, AO Approved, Awaiting Finance Review, Finance Approved, Paid. Each stage runs roughly two to five business days depending on command workload. When the status reads “AO Approved,” the Authorizing Official found no errors — payment is now Finance’s call. If that stage stretches past seven business days, pick up the phone.
Here’s the realistic calendar math. Submit on day five of return. AO reviews within five business days — call it day 10 calendar-wise. Finance processes in three to five business days — somewhere around day 20. Payment hits your account by day 21 to 23 in most cases. I’m apparently a fast filer and this timeline works for me while the “I’ll do it later” approach never does.
When to call Finance: past day seven after AO approval with no payment, reach out. Have your voucher number ready. Ask specifically where it sits in the queue. Most Finance NCOs can tell you exactly what’s holding it up — usually a receipt clarification or a minor discrepancy they’re verifying. Not serious. But invisible until you ask.
File correctly the first time. Photograph every receipt before you leave the building. Submit within five days. Check your status. The system works when you work it.


Leave a Reply